One of the best parts of MoFo this year has been discovering new and unexpected nutrition sources. The internet is full of top-ten lists, touting the best ways to get various nutrients on a vegetarian/vegan/paleo/gluten-free/whatever diet. But those lists only take you so far—I’ve found plenty of great protein and iron sources simply by rifling through my pantry. Today’s mostly raw recipe combines a few surprising sources of iron into a super satisfying snack.
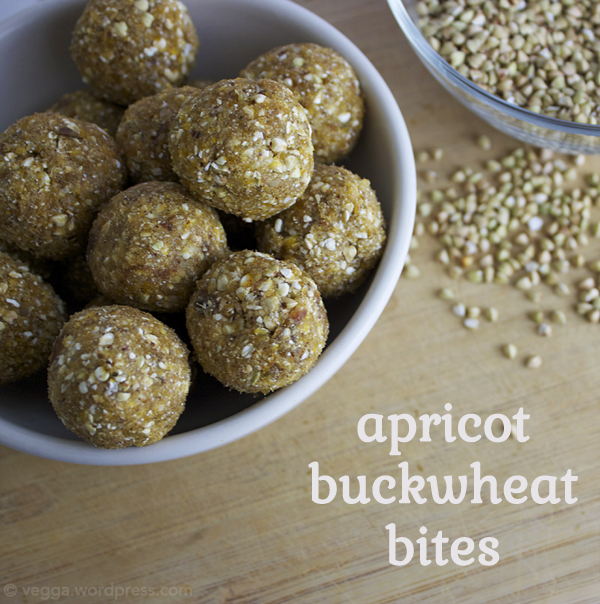
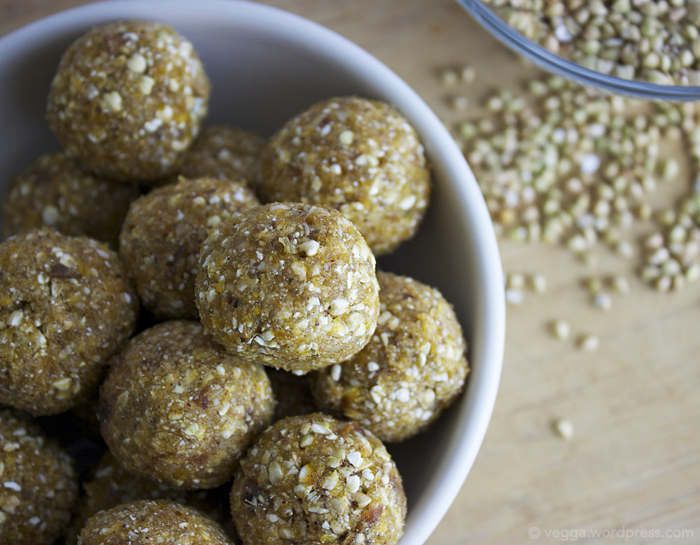
Apricot Buckwheat Bites
Makes 20 balls about 1.5″ in diameter
- 1/3 cup raw whole hazelnuts
- 2/3 cup raw buckwheat groats, divided
- 8-10 medjool dates, pitted and halved
- 2/3 cup dried apricots, roughly chopped (measure before chopping)
- 2 T raw shelled hemp seeds
- 1 tsp pure vanilla extract
- Dash sea salt
Add the hazelnuts and half the buckwheat groats to a food processor and pulse a few times. Add the dates (start with 8), apricots, and vanilla extract and process until all ingredients are combined—the mixture will be a little sticky, but it should hold together. If it’s too dry, add the remaining dates. Add the remaining groats, hemp seeds, and sea salt and pulse a few more times until all new ingredients are incorporated.
Using your hands, roll the mixture into balls about 1.5″ in diameter. Store in the refrigerator for best results.
Note: Vanilla bean seeds would work great here, but I couldn’t find mine… so, vanilla extract it was.
 These little bites have a satisfying crunch to them thanks to the raw buckwheat groats. If you’ve never used raw buckwheat, do yourself a favor and try it. Just be careful not to buy toasted buckwheat accidentally—that satisfying crunch will be much less satisfying and a little more unpleasant in that case. (Toasted buckwheat is also called kasha, and it makes a nutty replacement for your favorite cooked grain.) Raw buckwheat is—surprise!—a great source of iron, as are the apricots, dates, and hemp seeds. Four of these bites will give you 13% of your daily value of iron, along with 4 grams of protein and 6.4% of your daily value of calcium. Impressive!
Have you tried raw buckwheat groats? How do you like to use them?