There’s really nothing like a big ol’ plate of beans ‘n greens to fill you up and make you feel super-duper healthy. Although I never ate collards growing up, I’m so glad to have discovered them as an adult. Packed full of calcium, iron, and vitamins A and C, they make a great nutrient-dense side dish.
For meat-eaters, the classic pot of stewed collards features ham or bacon — ugh. I’m skipping right over the typical salty, smoky flavors in favor of something lighter and a little more heart-healthy: a brothy, spicy pot of collards and beans. Steven and I chowed down on our collards with dry-fried tofu in a miso-maple sauce; they’d also be great with grilled tempeh or even some seitan sausages.
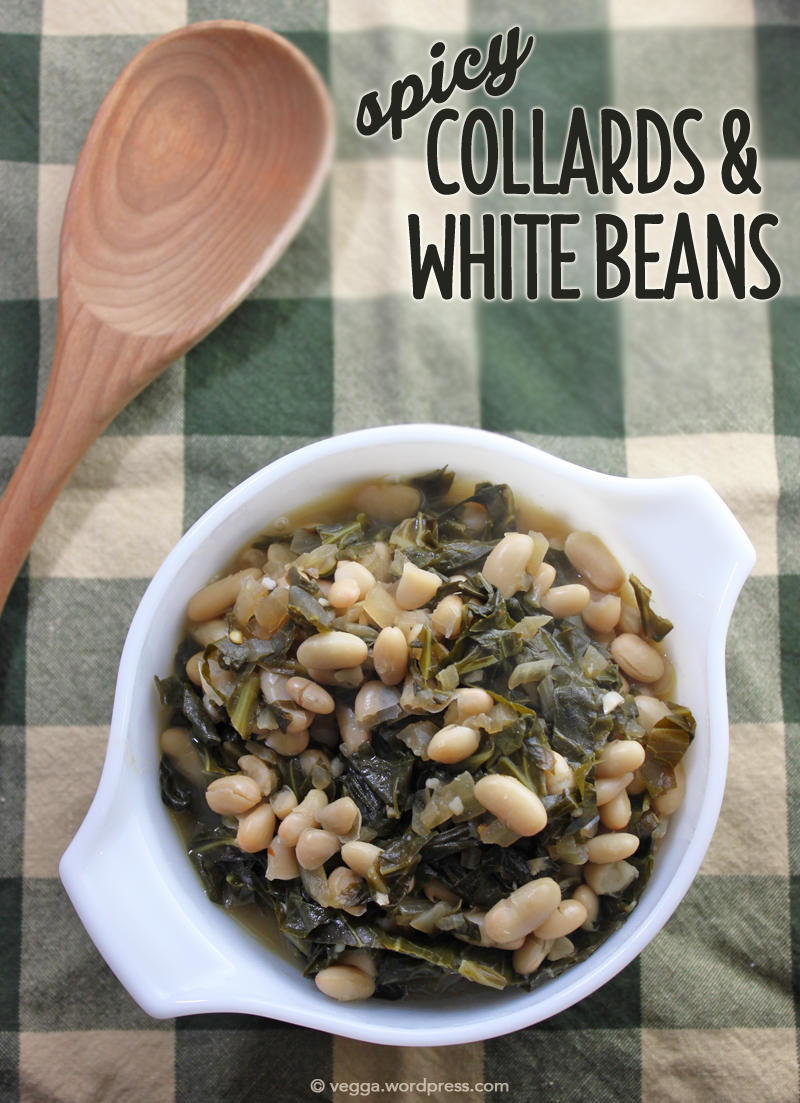
Spicy Collards & White Beans
Serves two
- 1 bunch collards, de-stemmed, rolled, and cut into ribbons
- 1/2 tablespoon olive oil
- 1/2 large yellow onion (about 7 oz), diced very finely
- 2 cloves garlic, minced
- 1 tablespoon vegan Worcestershire sauce
- 1/2 tablespoon pure maple syrup
- 2 cups no- or low-sodium vegetable broth (I use a salt-free homemade broth)
- Crushed red pepper flakes to taste
- 8 oz cannellini beans (about half a can)
In a large saucepan or small stock pot, heat the olive oil over medium heat and add the onions and garlic. Let cook for about 5 minutes, or until the onions are starting to get translucent. (You can prepare the collards during this time.) Add the vegan Worcestershire sauce and maple syrup and stir to coat the onions and garlic. Cook for another 3 minutes, or until most of the liquid is absorbed. Sprinkle in the red pepper flakes, then add the collards and broth to the pot. Bring the greens to a boil and then reduce the heat.
Let the greens simmer uncovered for 30 minutes, checking them occasionally to make sure the liquid hasn’t boiled away. (If it’s getting low, add a few tablespoons more broth or water.) After 30 minutes, the liquid should be much lower, but the pot should not be dry at all. Add the beans to the pot, stir, and cook for another 5 minutes. Taste and add more red pepper flakes if it’s not spicy enough for you. Eat!
Note: If you’re using canned beans, feel free to throw the whole can in there — you’ll just have a higher bean-to-green ratio. Not that that’s a bad thing…!