Week Two: Dietary & Lifestyle Restrictions
We love eating all the vegan food we can, but it’s good to learn how to cook for those who may have allergies or intolerances — and challenge ourselves in the process.
I’m taking things easy on this last Saturday of summer and sharing some of my favorite resources for finding nut-free, gluten-free vegan recipes. The good news is that many vegan food bloggers tag their recipes when they don’t contain a specific allergen, and some even have separate categories and lists of recipes without certain ingredients. Plus, there are plenty of vegan brands with nut-free and gluten-free options if you don’t feel like making your own food! Here are some of my favorites.
Blogs with nut-free and/or gluten-free vegan recipes
- Gluten-Free Vegan Pantry. Bet you can guess what you’ll find here! From chickpea-based chocolate peanut butter blondies to seven-layer dip, you’ll find gluten-free recipes for every meal. There aren’t too many nut-free recipes (and they don’t seem to be tagged), so look the other way if you’ve got a nut allergy.
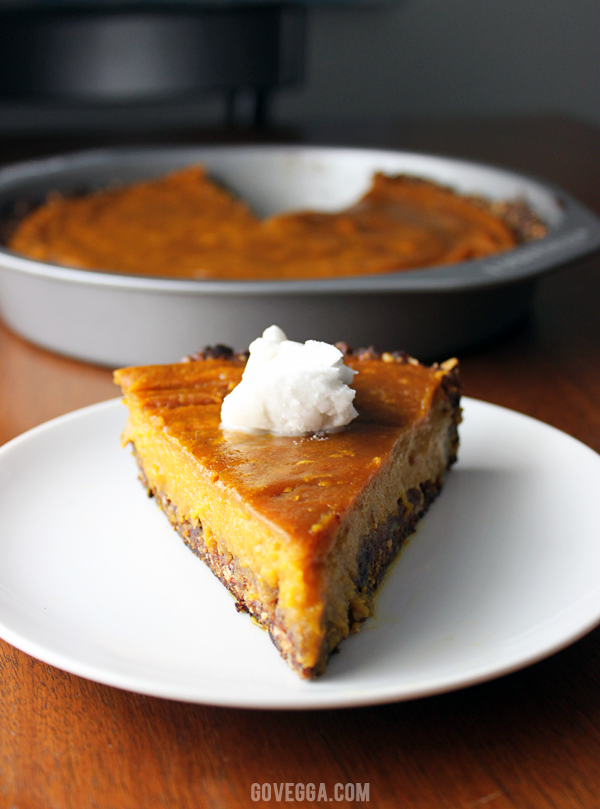
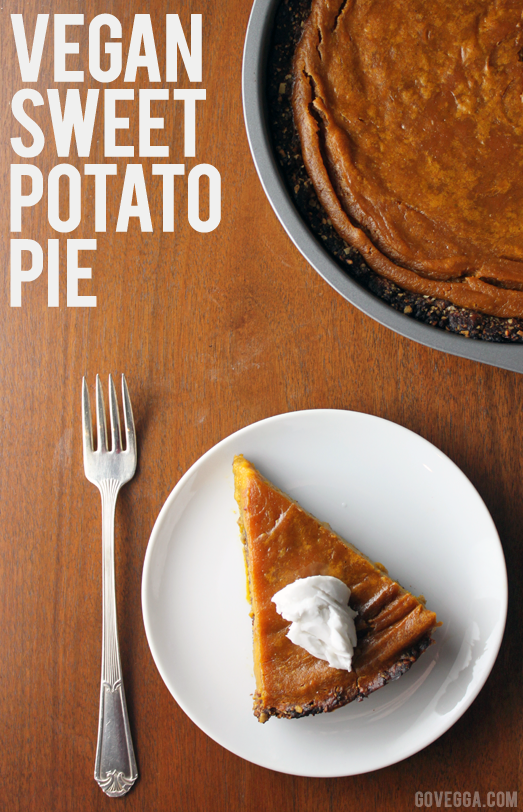
- Minimalist Baker. The 30-minute recipes over at Minimalist Baker are always flavorful, creative, and quick. Happily, there’s an entire gluten-free category in the recipe index, along with one for nut-free dishes. I love that you can find allergy-friendly staples, like these gluten-free biscuits and this drool-worthy coconut-based vegan caramel sauce.
- The Nut-Free Vegan. The description is in the name! I like that all the recipes here were developed without nuts from the get-go. Nut-free vegan Caesar dressing, a Turkish coffee milkshake, cherry-chia granola bars… what’s not to love? You can sort recipes using the gluten-free tag as well.
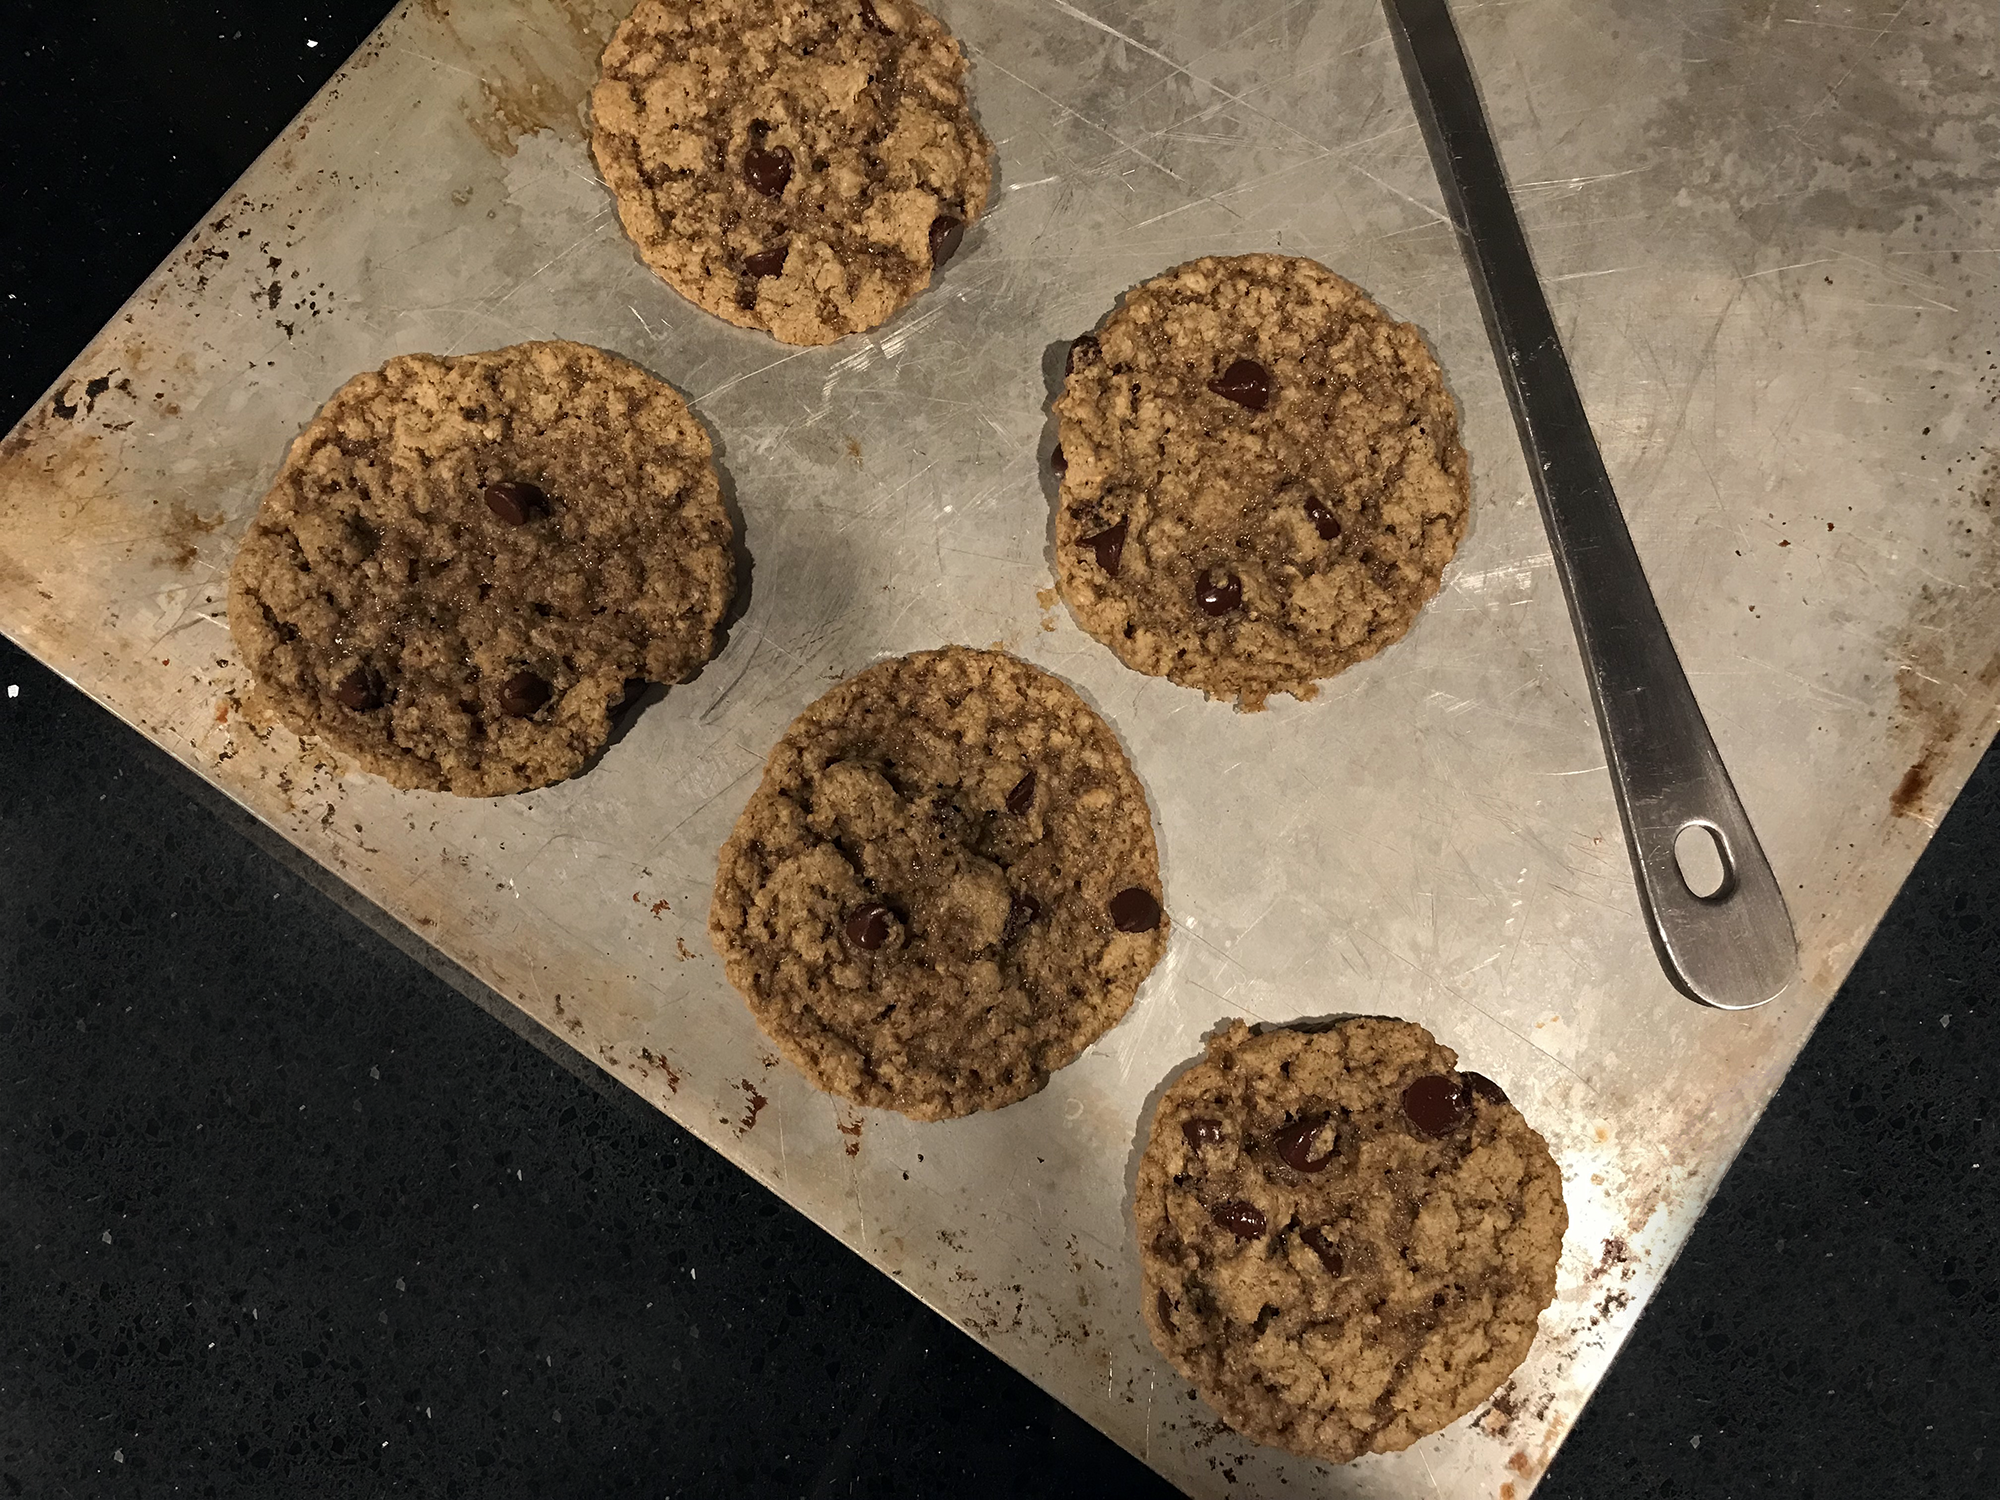
- Oh She Glows. Given that Angela creates tons of kid-friendly recipes, it makes sense that plenty of them are allergen-free. She also has a list of allergy-friendly recipes, though it’s not super easy to sort. Angela just posted a yummy-looking grain-free, nut-free vegan chocolate chunk cookie recipe, and she often lists nut-free substitutions for popular recipes like this all-purpose cheese sauce.
- The Vegan 8. Brandi’s eight-ingredient vegan recipes are nearly all allergy-friendly, and she includes a separate page of recipes sorted by recipe type and what they don’t include: nut-free desserts, gluten-free snacks, etc. This nut-free vegan New York-style cinnamon cheesecake (!) looks amazing, as does this gluten-free vegan funfetti cake (!!).
- Vegan Richa. Given that many of Richa’s cheese made an appearance in my list of nut-free vegan cheese recipes, it’s no surprise that she makes this list, too! Richa’s list of recipes is exceptionally simple to search. Go to Recipes > Recipe Index to find food sorted by plenty of categories, including both nut-free and gluten-free (and even palm oil-free!). I’m salivating (…literally…) looking at her vegan gluten-free malai burfi, and I love the idea of these cauliflower-cheddar based pesto zucchini grilled cheese sandwiches.
Brands with nut-free and/or gluten-free vegan products
- Amy’s Kitchen. Many of Amy’s ready-made meals are vegan, and plenty of those are gluten-free. They even have a product list that you can sort by ingredient — here’s the list of vegan, nut-free, gluten-free items they offer. I don’t buy a lot of convenience meals, but I do like their black bean and veggie enchiladas!
- Daiya. Most vegans have Strong Feelings™ on Daiya, but regardless of how you feel about its products, you have to appreciate that its cheeses and other non-dairy products are free from gluten, soy, and nuts! I’m lukewarm on many Daiya products but do like their Greek-style yogurts, and I’ve heard that their new cutting board cheeses are a step up from the original shreds.
- Enjoy Life. The company’s tagline is “eat freely,” and all products are wheat-free and gluten-free, as well as free from 14 common allergens. Look for the signature teal packaging on products such as cookies, chocolate bars, lentil crisps, and more.
Note: The Food Empowerment Project (which judges whether a company sources certain ingredients ethically) doesn’t recommend Enjoy Life’s chocolate. If you are not comfortable buying chocolate that may have been produced using child labor or slavery, skip Enjoy Life’s chocolate-based snacks.
These are by no means a comprehensive lists! These are just some of the blogs and brands I’m most familiar with. Feel free to share your own allergy-friendly favorites!